Add a Donate Button to Your Website
Put a Donate button anywhere on your website. Donors give in a checkout that opens right on your page.
A Donate button is the simplest way to take gifts on your own website. Place one in your header, at the end of an appeal, or beside a project update. When a donor clicks it, the checkout opens over your page, and they never leave your site.
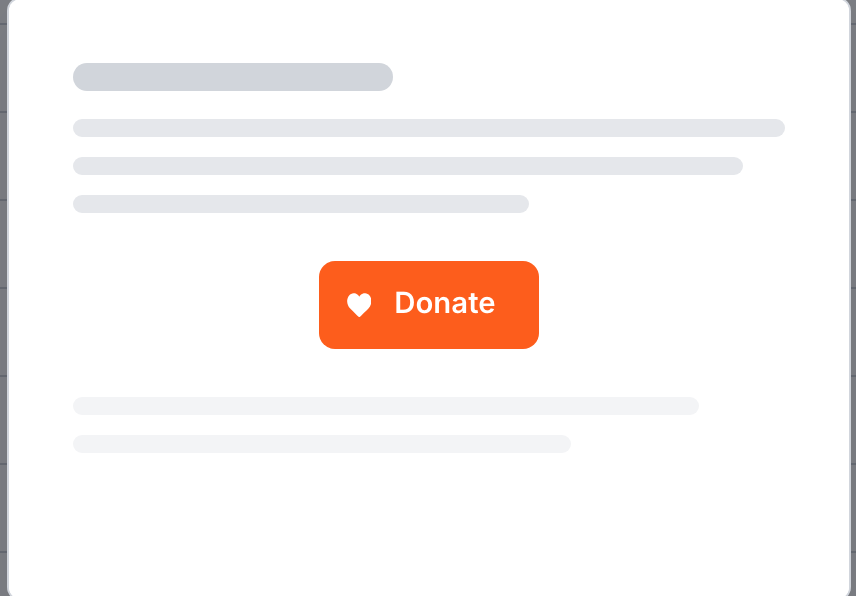
Adding a button takes four steps. The embed code in step 3 only needs to go on your site once, so skip that part if it's already there.
Create the button
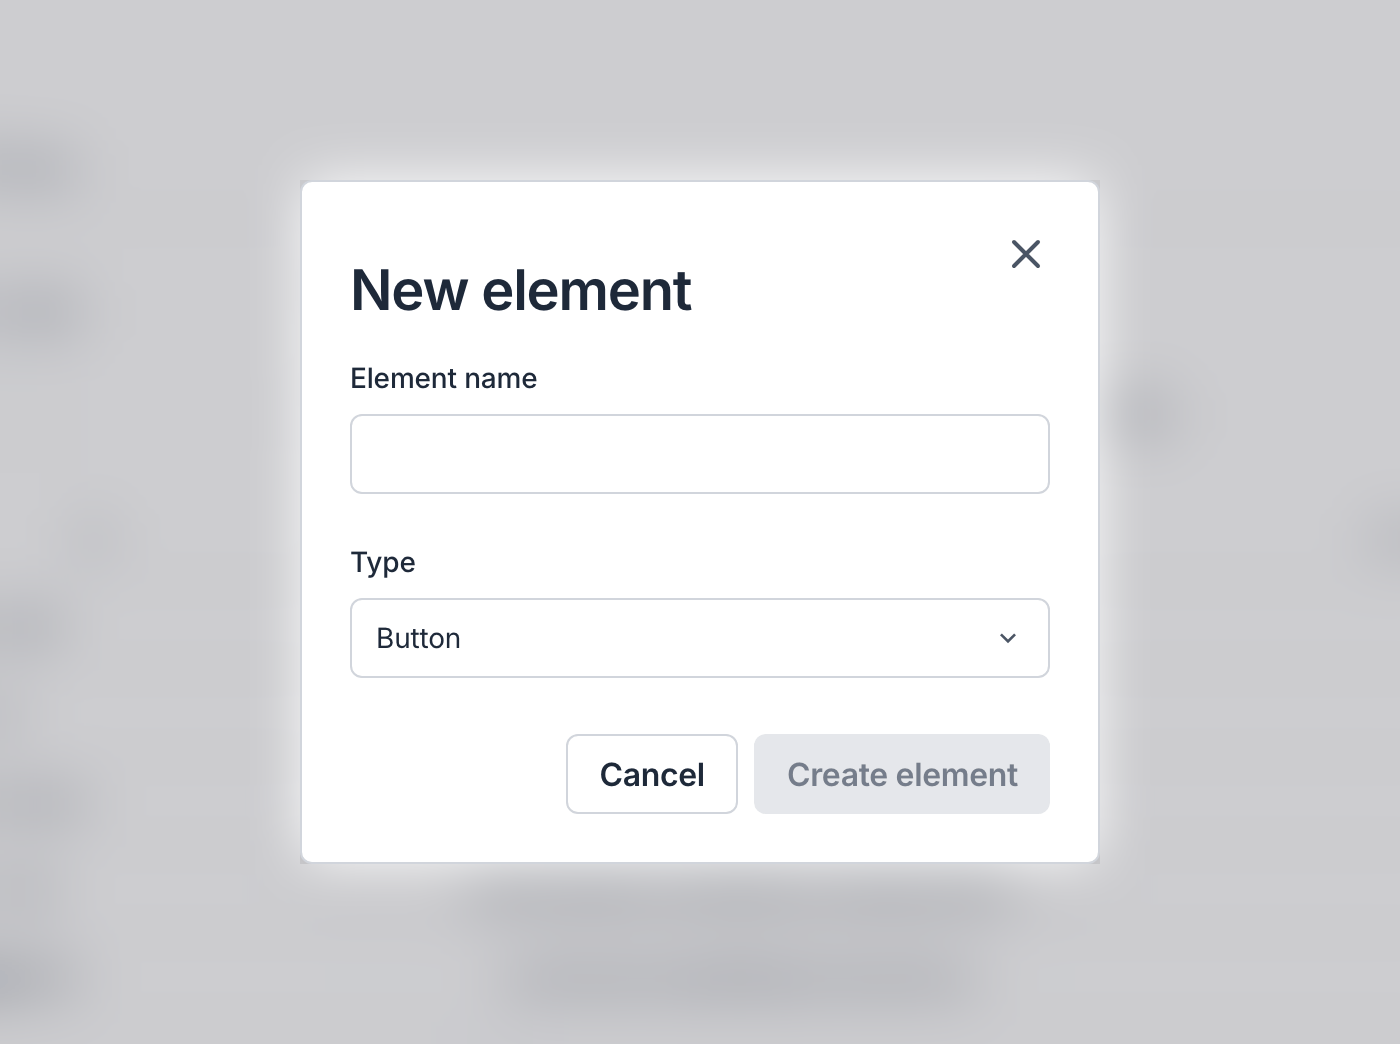
In your dashboard, go to Sites → Elements and click New element. Give the button a name your team will recognize, such as "Homepage donate button", choose Button as the type and click Create element. Donors never see the name.
Choose where gifts go and how it looks
The button opens with its Behavior tab:
- Opens in: Checkout Modal opens the checkout over your page. Hosted Page sends donors to your campaign's hosted page.
- Content: the campaign or campaign group gifts go to. Leave it on Most popular campaign to follow whichever campaign raised the most over the last 30 days.
- Prefill: the frequency or amount the checkout opens with, such as $50 monthly. For a Zakat eligible campaign, you can also turn on Preselect Zakat. Donors can still change anything you prefill.
On the Style tab, set the label, colors, icon, size, corners, border and shadow. The preview shows the button as it will look on your site. If you don't set a color, it uses your organization's primary color.
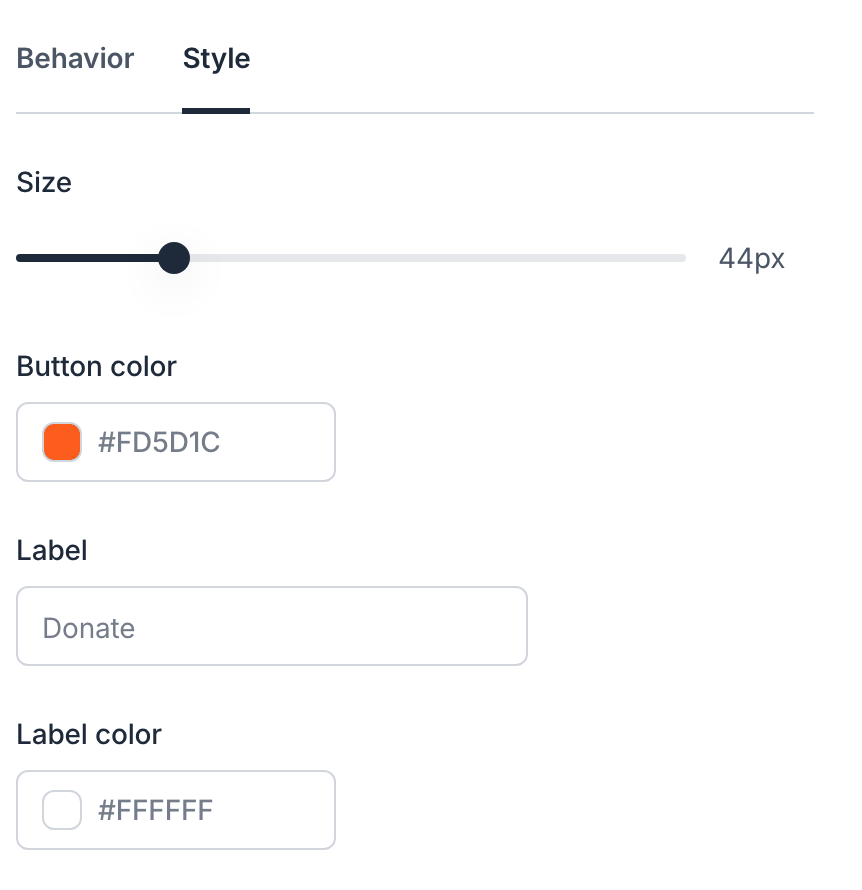
Changes save to your site automatically, so you can come back and change any of this later.
Add the embed code and the button's tag to your site
Your site needs two pieces of code:
- The embed code, once, in the header of every page. Copy it from Settings → Website → Embed code. If you've added Nizam to your site before, it's already there.
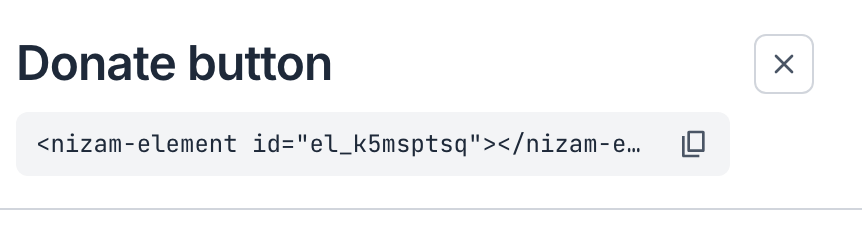
- The button's tag, on the page where the button should appear. Copy it from under the button's name in Sites → Elements. It looks like
<nizam-element id="el_xxxxxxxx"></nizam-element>.
Choose how your website is built:
Embed code: install a header code plugin such as WPCode, open its Header & Footer settings, paste the embed code into the Header box and click Save Changes.
Button tag: edit the page, add a Custom HTML block where the button should go, paste the tag and click Update.
Save and publish your site. For more detail on the embed code, see Install the embed code.
Check it works
Open the page in a private or incognito window. The button appears where you placed it. Click it, and the checkout opens over your page. Choose an amount and continue to confirm the checkout works. You don't need to finish the gift.
Once a donation has started on your site, your site's address appears under Settings → Website → Embed installs, and Apple Pay and Google Pay are set up for it automatically.
If Your Site Removes the Tag, copy link to this section
Some website builders remove code they don't recognize. If the button's tag disappears after you save, use a link instead. Point any button or text link on your site to # followed by the element's ID:
<a href="#el_xxxxxxxx">Donate</a>When a donor clicks it, Nizam starts a donation with the button's settings. This works with your site's own buttons too: set the button's link to #el_xxxxxxxx in your website builder.
Changing or Removing the Button, copy link to this section
Edit the button in Sites → Elements at any time. Your site updates on its own, with no need to paste the tag again. To take the button off a page, delete its tag from the page.